The 360° virtual tour is included in the Premium plan (see Plans). Prepare one 360° photo per room:
Full sphere: 360° camera or a phone's “Photo Sphere” mode (image twice as wide as it is tall, for example 6000 × 3000 pixels).
Phone 360° panorama: the image goes all the way round but covers less height (for example 20000 × 3200 pixels). Visitors can then turn around, without looking up or down.
A regular photo (less than twice as wide as tall) is refused. Each photo can weigh up to 50 MB; beyond 8192 pixels wide it is reduced automatically, and it counts towards the rental's storage.
Shooting tips
Place the camera in the middle of the room, at eye level, on a tripod if possible; turn the lights on and open the shutters; tidy the room and step out of the frame.
Open the tour of a room
On the unit page, two entry points:
the Visite virtuelle 360° button of the “Technical details” block;
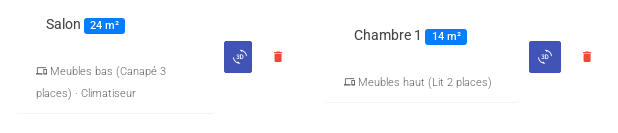
the 360° button of each room card: it opens the page directly on that room (filled button if the room already has its view).
The 360° button next to each room.
Add one view per room
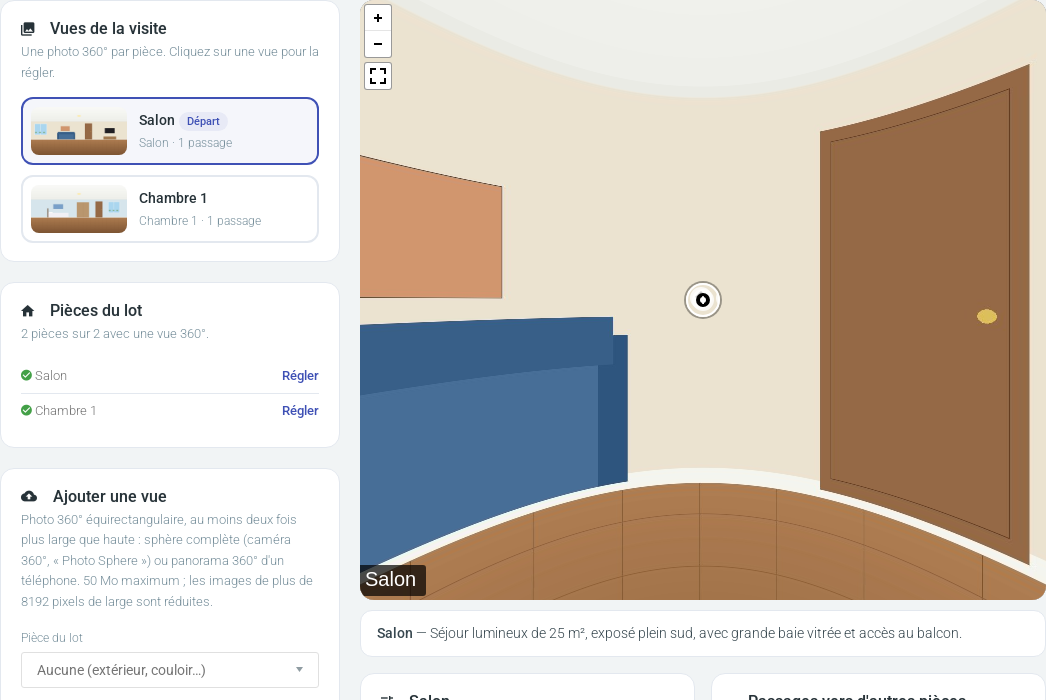
In the Ajouter une vue (add a view) block, choose the room of the unit (or “Aucune” for outdoors, a hallway…), optionally a display name, then the 360° photo, and click Importer la vue. Each room has a single view; rooms that already have one are greyed out.
The Pièces du lot (rooms of the unit) block shows which rooms have their view, with “Régler” (adjust) or “Ajouter” (add) for each.The list of views (the starting view is marked “Départ”), the rooms of the unit and the tour with the room description.
Set the view, description and start
Turn the tour with the mouse or your finger, then click Enregistrer la vue actuelle (save current view): this is what visitors see when entering the room. In the same block you can:
change the linked room and display name;
enter a room description (size, orientation, equipment…), shown below the tour;
click Commencer la visite ici to make it the first room of the tour;
delete the view (a confirmation is requested).
Passages and information points
A circle in the middle of the tour is your sight.
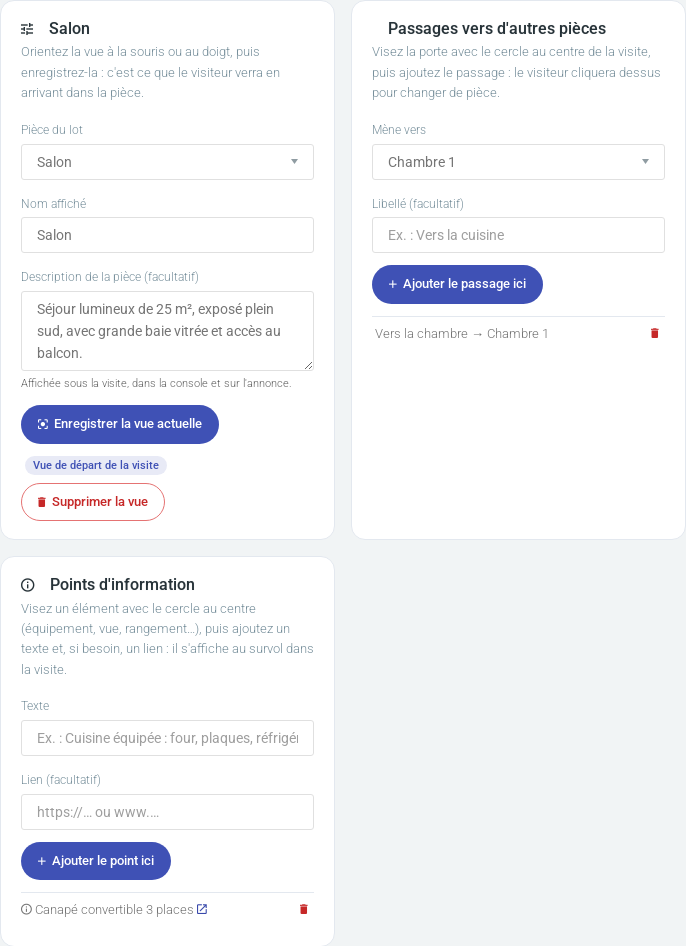
Passages: aim at the door, choose the room it leads to, add a label if needed (“To the kitchen”), then Ajouter le passage ici. Visitors click the arrow to change room.
Information points: aim at an item (equipment, storage, view…), type a short text and, if needed, a link (equipment sheet, neighbourhood map…), then Ajouter le point ici. The text appears when hovering the ⓘ icon; the link opens in a new tab.
View settings, passages to other rooms and information points of the room.
What visitors see
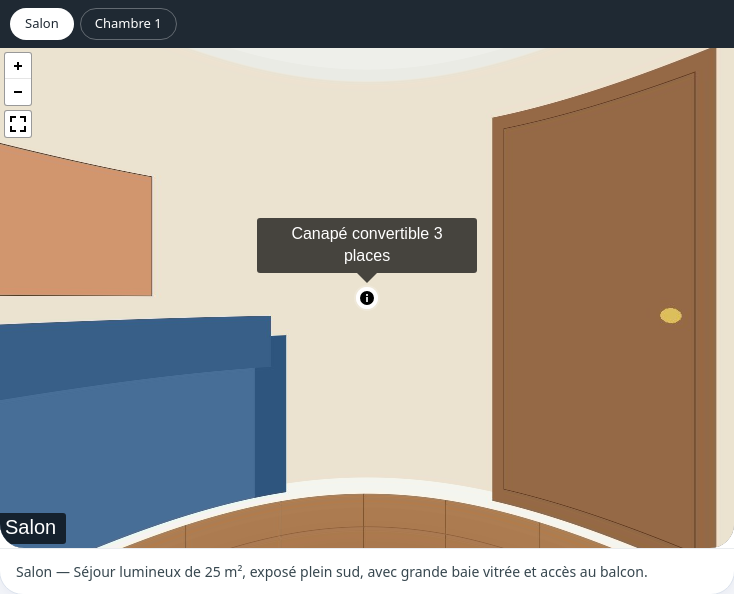
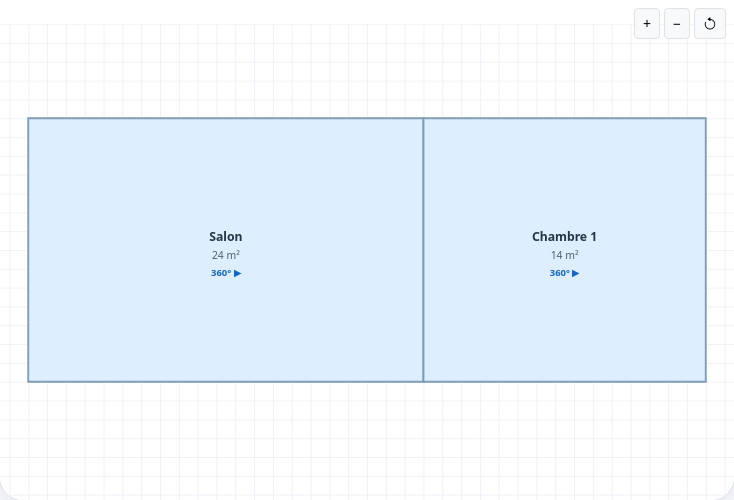
As soon as the unit is published, the listing shows a 360° tab: one button per room, the tour and the description of the room shown.The listing's 360° tab, with an information point hovered.If the unit has a floor plan, rooms with a view are marked “360° ▶” on the 2D plan: a click opens the tour on that room.On the 2D plan, a click on a room marked 360° opens its tour.
Troubleshooting
“Cette image n'est pas une photo 360°” (not a 360° photo): the photo is less than twice as wide as tall; export it as a 360° panorama or “Photo Sphere”.
“Image trop lourde” (too heavy): reduce it below 50 MB.
“Espace de stockage du projet insuffisant” (not enough storage): delete media from the rental or change plan.
No 360° tab on the listing: check that the unit is published and that the owner's account is on the Premium plan.
Link copied!
Respect de votre vie privée
Nous utilisons des cookies de mesure d'audience et d'assistance (Google Analytics, Highlight) qui ne sont pas nécessaires au fonctionnement du service. Vous pouvez les accepter ou les refuser.